Tag: technology (Page 1 of 2)

Chapter 5: AI Tools for Literacy

Photo created with canva

Magic School is a Free AI tool designed for teachers, with the option of paying for a premium service. Check it out below:
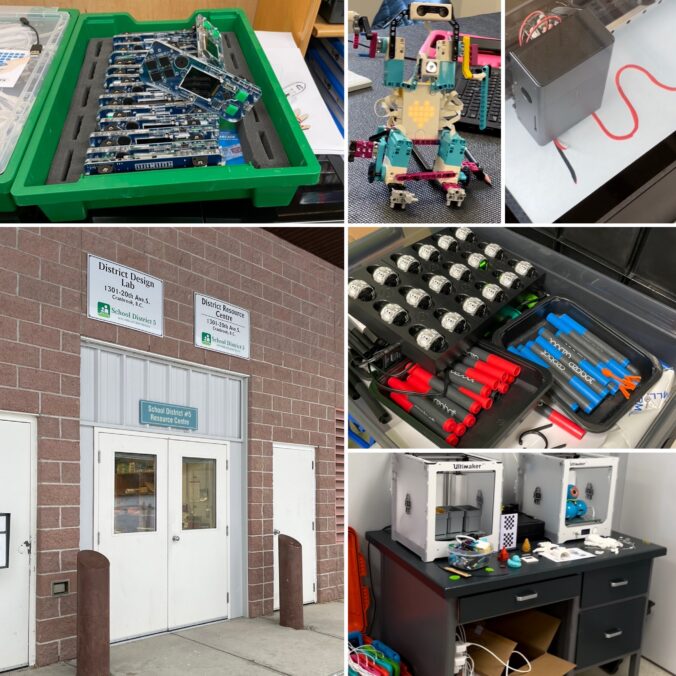
video created with Screencastify

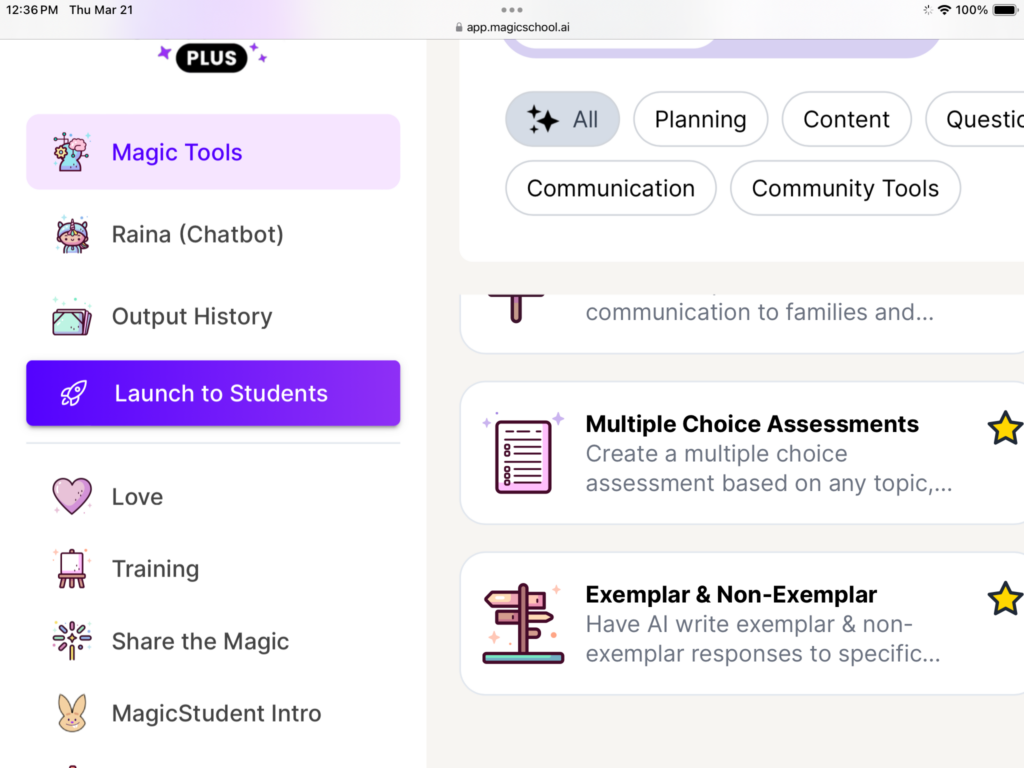
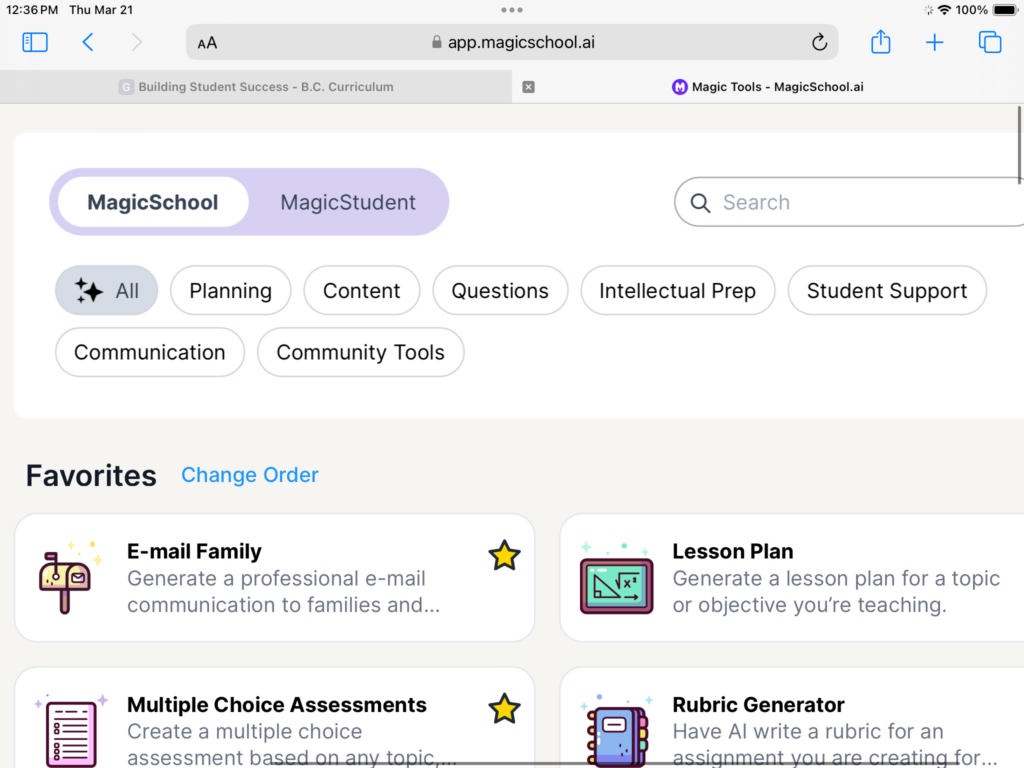
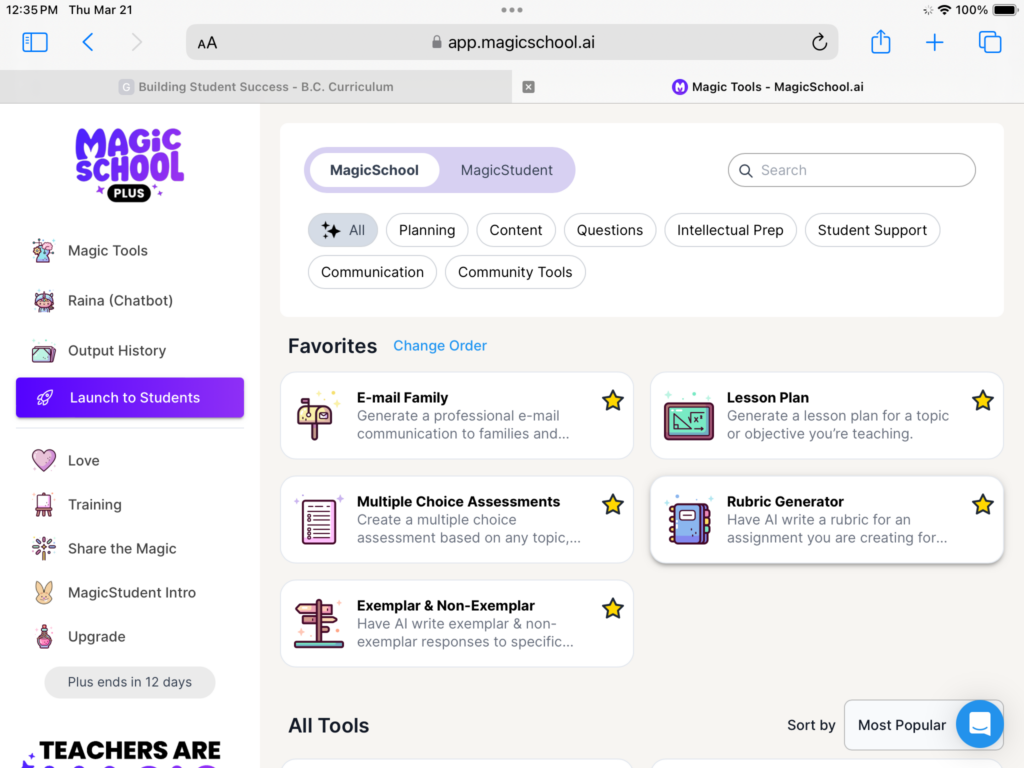
I like magic school because it is simple to use. Everything on the site is related to teaching with the intention of elevating my career path. The less time teachers are spending on tasks like scrolling for lesson ideas, the more time the teacher can spend adapting a lesson to fit their students unique needs. I find the site flows and is fairly straightforward to find what you need.

The side panel splits the site into AI tools, chatbot for additional support and history of your work created with magic school.
The top panel sorts all the tools into categories based on the teachers needs from the AI.
At the top of the site you can star your favorite tools for easy access.

I would use this feature to create reading samples for my students on specific topics. I would start with a resource I want to teach and have the AI modify the text for any of my students who I believe would struggle with the original text. This is a great way to add supports or challenges to students while ensuring a classroom community of students all learning together.

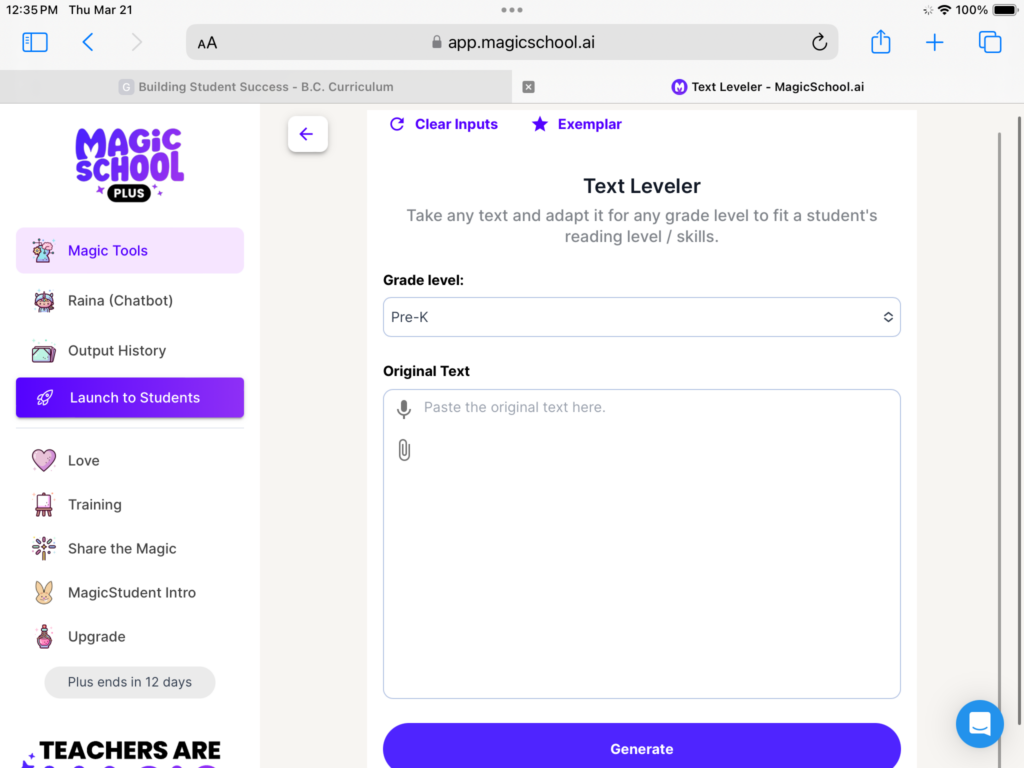
The text leveler is an AI tool used to modify any text for different grade levels.

Benefits: all your students reading the same material within their reading abilities.

Caution: texts need to still be careful read through and edited for grammar, appropriate terms and appropriate levels for reading. This is not an easy copy and paste reading sample. You must still do the work to ensure it fits your students needs.

I would use this tool as a starting off point on a new unit. It may give me ideas I would like to try in my classroom and make suggestions about the order of which I should teach my content. This will not be used to write any of the unit plans I end up teaching.

This AI tool is used to create a unit plan. You enter your grade, length and topics and it will create a unit plan.

Benefits: Gives you lots of ideas quickly with less scrolling

Cautions: This is NOT a final product. The AI tool does not know your students and your environment.

I would use this tool to create examples for my students for lessons I have not taught before. Students like to be able to see the end results when you describe an assignment. Typically I would ask my prior students if I could show some of their work but teachers are constantly evolving and changing their teaching and wont always have past work to show.

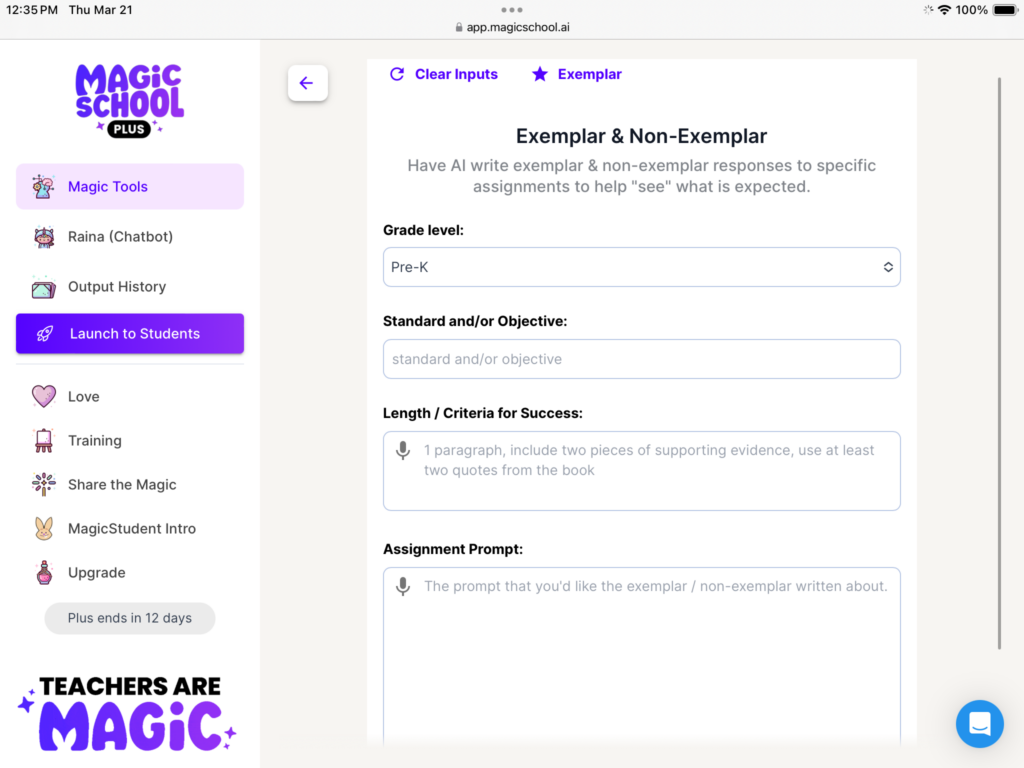
This AI tool is used to create responses to assignment questions.

Benefits: This is a huge time saver. The teacher does not need to write all the responses themself.

Students can see multiple writing styles, not just their teachers.

Caution: Always edit and read any work before sharing it with your students.

Design Lab

This week in class we check out SD5 DESIGN LAB and boy was it AMAZING! The district does such a great job of cultivating resources to engage our students and give them opportunities I could have only DREAMED of when I was in school.

PROS

  • students engage with technology they may not otherwise have a chance to use
  • students collaborate to problem solve
  • practicum teachers are welcomed
  • design lab tries out technology to see how it can be incorporated in a classroom
  • great resources to help the teacher create and teach a lesson plan if they don’t have much experience with technology
  • student lead activity options
created on canva

CONS (What to be aware of before bring a class)

  • design lab books up early, be prepared to plan this months in advance to get a spot
  • students have varying level of technology expertise, how can you work to ensure every student is included?
  • funding needed to get students to the design lab (buses)

Something that stood out to me from the design lab was the tools for attaching cardboard together. I thought this could be a fun low tech project for younger grades to introduce them into technology.

Photo found on Unsplash by Jon Moore

I like the idea of using cardboard/ waste products to create something new and exciting. I think this would fit well into a lesson on RECYCLING.

I like how this project could be student lead. I think giving students plenty of CHOICE in learning is so important to their development.

I like how hands on the project is, this is great for keeping younger students fully engaged in an activity.

created on canva

Students would work in groups to create a house using any products they can find (great practice for students to be resourceful) and the given screws to hold challenging materials together. Students would be told to create the most sturdy house they can.

After creating the houses we would discuss what we think makes a building more or less sturdy. Create a list with the students hypothesis.

Students will then place their projects on the earth quake simulator to see how their building holds up.

After discuss the results. Ask the students again what makes a building sturdy.

Create larger groups and conduct another experiment with students using there new knowledge on how to make a building sturdy. See if the students new projects last longer on the earthquake simulator.

Exploring Ice Breakers in the Classroom Overview

Children get bored. As educator’s it is imperative to our students success that we find ways to keep children engaged and excited about learning.

Icebreakers are an excellent way to break up long lessons in a class and redirect students when they are starting to get side tracked. As a teacher how are you suppose to know when your students will need a Brain Break?

Found on Pexels by Brett Jordan

Purpose: This blog was a way to use class time to create a virtual resource binder so I can efficiently flip through my work and find the perfect ice breaker to fit my students needs.

Materials: Choosing more ice breaks that do not require any set up is how I managed to collect a video of instant classroom activities

Benefits: Students learn to regulate their learning to avoid getting overwhelmed. These activities are a great way to teach students to ask for breaks. Each Icebreaker also fits into different aspects of student learning so students can remain on task while still getting up and letting loose.

Ms. Johnson’s Virtual Resource Binder

Find the Activities below for an in depth how to teach: All linked on this blog

Table of Contents:

Would you Rather

Roll a Question

Find a Friend

Mimic Octopus

Popcorn

Yes Lets

Search and Sketch

Pass the Pumpkin

Pumpkin Workout

Alphabet Freeze

Name Aerobics

Knot Challenge

Guess that Object

Digital Portfolio’s- Week 10

A digital portfolio is digitalizing student Artifacts. This involves posting student work online which is a great way to share with families what learning is happening in your classroom in real time!

What artifacts might you want to share?

PHOTOS

VIDEOS

VOICE RECORDINGS

DRAWINGS

DOCUMENTS

School & District -Subscriptions | Seesaw
Photo from their website

Seesaw is a great online site to create a digital portfolio for your students! Seesaw is very accessible with a desktop version, a free app and the ability to access straight on a mobile device. I really enjoyed how EASY TO NAVIGATE seesaw is because that makes it realistic for students to be successful on this device! I noticed how the teacher has control to adjust the settings so they can set all posts to be approved before posting as you begin to teach students what is appropriate to post online!

********My loyal blog readers may be wondering why Seesaw sounds so familiar well it was a part of my Assignment 2 What makes a good blog project! Check out my walk through tutorial if you have not had a chance yet!

created on canva

One way to use this in the classroom?

The LESSON PLAN: Students will use a digital portfolio like Seesaw to create a family free inquiry for Science class! Students would pick an animal of their choice to get the project started and share a photo, video or document explaining which animal they chose. Parents would comment a question they have about the animal and that question would be the topic of next weeks post on the topic! Continue for 5 weeks with the parents asking questions and the students conducting research and sharing the new information online with their parents!

CAREFUL: some students may not have a family that is able to support this project so the teacher would need to step up and share in those students learning!

BENEFITS:

  • students learn to do research to answer questions
  • students learn to share their learning using a digital portfolio
  • parents can learn alongside their child
  • students learn to report information in a clear manner
  • will great make discussion points at home while introducing seesaw to the students as well as their parents
created on canva

What Makes a Good Classroom Blog/Website?

Check out our Google Slide Presentation or learn the information directly on this blog post!!!!

3

Easy set up

Add all your students and link them to a parent.

Teachers, students and parents each have their own platform to work from.

  • Sweet Avatars for students to create.
  • Teachers can add photos, assignments and messages
  • Students can add photos and assignments.

Screencastify exploration

  • EASY TO SET UP/CREATE
    • EASY TO EDIT
  • FREE 
  • EASY TO ACCESS – DON’T NEED A SEPARATE APP OR LOGIN – EASY ON PARENTS (PUBLIC)
  • CAN BE USED BY STUDENTS AS WELL AS PARENTS
  • LIMITED EDITING OPTIONS
  • GOOD TO KEEP STUDENTS AND GUARDIANS UP TO DATE

Screencastify exploration

  • Parent-teacher communication
  • FREE for everyone
  • Accessed on pc (website) or smartphone (app)

  • Relatively easy to create & update
  • Private, public, or company use- can add registration 
  • Fill and submit forms
  • Direct contact button

Site exploration

Screencastify exploration

  • SET UP AN ACCOUNT AS THE TEACHER, AN ACCOUNT FOR EVERY STUDENT AND INVITE FAMILIES TO SET UP AN ACCOUNT TO ALLOW FOR OPEN COMMUNICATION
  • TEACH STUDENTS ABOUT PROFESSIONALISM ONLINE, TEACH THE STUDENTS WHEN TO SHARE AND WHEN NOT TO 
  • CREATE FOLDERS FOR EASY ORGANIZATION OF STUDENT ACTIVITIES AND WORK

  • UPLOAD PERMISSION FORMS DIRECTLY TO THE PARENTS
  • CREATE ANNOUNCEMENTS AND CONVERSATIONS TO COMMUNICATE WITH PARENTS AND STUDENTS ABOUT UPCOMING EVENTS
  • TEACH STUDENTS TO USE TECHNOLOGY IN A SAFE PRIVATE MANNER

Screencastify exploration

What kind of things make a class website or blog “good”?

1. cost

Preferably FREE

2. accessibility

  • Is the website/blog easy for students/parents to navigate?
  • Can you view the website/blog from multiple devices?

3. privacy

  • Password protected?
  • Can anyone view the class blog/website?

References

Class Dojo

Jotform

Seesaw

Google Sites

EDCI Presentation’s Overview Day 2

photo found on unsplash by
Minh Pham

How can Virtual Reality Experiences be used in the classroom?

Types of Virtual Reality:

Headset on and see environment (Virtual Reality)

  • Virtual Reality: player puts on a headset and is fully immersed in the environment displayed by the headset
  • Augmented reality: player puts on a headset/glasses and you see the data from the glasses overlaid over their normal surroundings
  • Extended reality: merges the two realities. Unattainable for classroom use, currently for military accesses, pilots….

PlayStation Titanic VR:

Playstation is an example of a tethered VR as the processes are uploaded directly into the source!

What do you need? headset, led light remotes, camera on tv (track movements using light).

contains inside out tracking: cameras in headset tracking pieces of information (stand alone technology)

Learn history and physically BE A PART of the titanic

PROS: ENGAGING, new way to learn (novel), hands on, tech continues to advance and is only getting better!

CONS: outdated software (cost to update), set up time (can be complicated to set up the first time), limited educational software (lots of video games), motion sickness

Smart phone VR: Librarium, Hand Physics Lab, Nanome, Star Chart

What you need: contained devices (like a computer) with all the tech you will need!

These are great for free inquiry’s, creating a virtual study room, online notes and learning materials that may not be accessible in a classroom!

PROS: ENGAGING, hands on, novel, simple set up, portable, affordable (single cost to operate), open source activities (lots of options!), own browser in device, options for software support

CONS: you need to set up every time, gaming device bias, simplified graphics, you need to recharge device, students with physical disabilities may struggle with it (this is a project they are work on)

Overall VR is a way to get kids EXCITED for learning in a modern new way that is always growing and improving. It provides kids opportunities to explore tech and be a part of places they could only dream of seeing!

Photo found on unsplash by Wilkins Morales

How can Virtual Fieldtrips be used in a classroom?

  • take students on virtual tours from the comfort of the classroom
  • supplement students learning using (jamboard, quizlet)
  • engage students in opportunities they may not otherwise have
  • motivate the students to learn

Kindergarten Virtual Field Trip

virtual trip to the zoo!

activity ideas: create their own habitat, field trip passport, teacher can create their own personalized virtual tour

make it special with costumes, decorations, art, make it feel like a field trip not just a video!

Grade 8 Virtual Field Trip

Mount St Helens

activiy ideas: jam board check ins, allow students to record questions on jamboard and after doing the research as a class create a YOUTUBE video to answer the students questions, student made quizzes

PROS

  • engaging
  • no physical limitations
  • accessible to all students
  • can be fit to student interests
  • teaches student internet safety
  • helps visual learners

CONS

  • potential tech issues
  • how to get funding?
  • how to get students moving?

ethical note: be sure to demonstrate best practices and pay for the products you use, this is someone’s work!

Prodigy As a Math Tool- Week 9

Today we explored prodigy as a classroom tool for teaching math. Prodigy is on online game intended to make learning fun! Students create characters in the game and explore the world by battling creatures and completing tasks. Prodigy can be used for Math or English but I have been playing to learn math so that will be the focus for today!

sample in game question

BATTLING in the game is done by answering math questions! If you get the answer correct your attack is successful and the opponent loses damage. If you get the answer wrong your attack misses. If a student is continuously getting questions wrong then the algorithm adjusts the questions to their knowledge level to ensure every student is learning!

my character attacking in the game.

ATTACKING in the game does damage to the opponent. The goal is for the opponent to lose all their health points before you to win. If you win you collect starts, new attacks and level up your characters!

completed quest screen in prodigy, take note of my characters there are so many to collect!

QUESTS can be completed in the game to earn more points and level up! As you continue to complete quests you also get chances to “catch” more creatures to add to your team. As you can see I already have Snowfluff and Rukus!

I found prodigy to be a lot of fun to play! By creating a STORYLINE to the game and QUESTS to complete I was eager to keep playing to grow more levels! This is a great MOTIVATION for students who may otherwise not engage in a math class! The game is super adaptable by the teacher to ensure students are sticking to the LEARNING OBJECTIVES. The teacher is able to set grade level and check the progress of the students. They can see who is playing, when they are playing and how they are doing within the game. The teacher can access statistics on which questions students tend to get wrong. For example if they notice students are getting 60% of the questions on division wrong the teacher will know to focus on division in the classroom!

PROS

  • engages students
  • adapts questions based off of student skill level
  • tracks student results for the teacher
  • addictive (I wanted to keep playing)
  • in game tools for drawing out the math problem- inclusive to lots of math strategies
  • fun
  • can continue learning at home

CONS

  • reward based learning, how will students react without getting points for correct answers (how to keep them motivated)
  • easy to cheat with access to a computer!
  • addictive (I wanted to keep playing instead of doing work)
  • requires access to technology for every student

Please check out my Screencastify for some live action game play!!!

scan the QR code to check out my screencastify

EDCI Presentation’s Overview Day 1

Over the last month our class has been working on creating projects to answer important questions on using technology as a classroom tool you can find my project under Educational Technology Presentation but here is what I learned from my classmates:

How can we create a more inclusive classmate using tech?

The goal is to provide resources to allow all students to be engaged and for the teacher to be able to reach all their students!

Virtual Classroom

zoom lectures

Teams

blackboard websites

google classroom

(online resources to provide the lesson to students either in real time or posted to access at any time)

Immersive reader

reading support system

there is a google chrome immersive reader extension to use for any website and device

Nearpod

collaborative boards that can be presented live or student paced (code protected)


Pros

  • students can work at their own pace
  • revisit lecture from class
  • available anytime anywhere
  • keep up on classwork if you miss a day
  • students can have a voice online if they feel less comfortable speaking out

  • translates for learning English
  • excellent for students with difficulty reading screens
  • you can colour coordinate parts of speech (verbs, nouns…)
  • user chooses the speed of reader and can pause on tricky words
  • offers independent choices for extra support

  • has a whiteboard to interact with lesson during a presentation
  • student results are emailed right to the teacher
  • lots of features to keep students engaged
  • student paced
  • has built in immersive reader
  • audio submission options if typing is a challenge
  • assign pods for virtual collaboration
  • you can add a coteacher

Cons

  • learning curve
  • inaccessible to some (must have tech at home)

  • students could rely on immersive reader but it may not always be available
  • cost to use
  • tech does not always work or is not always available

  • requires individual tech that is not always accessible
  • students may face temptation to use their device for games rather than learning
  • site does not support canav
  • internet could fail, have a backup plan
  • has American based materials

How does Technology supports diverse learners?

Technology can help to create an inclusive environment, adapt for student needs, engage students, allow for differential instruction.

Seeing AI– free app to describe people, text, objects to you and uploads the page directly to a digital file.

PROS: -speak to text – uses camera phone (accessible to most students

-describes a photo or face to students with visual impairments -reads text to help

students read – transfers scribe to create digital files

CONS: – digital voice can be hard to understand – minor description glitches (age,

race, sensitivity concerns)

Eye Gaze Tech: It uses eye movement tracking to control the computer and make selections by blink activation, a manual switch or dwell for selection (stare at screen for a set amount of seconds to make selection

PROS: – helps with mobility disabilities, cerebral palsy, autism…. – easy to learn

and use – allows students independence – used to diagnose visual disabilities

– has been used to diagnose autism as early as 6 months – helps students

communicate effectively – has games to practice using the technology –

students can create PowerPoints for school

CONS: – expensive – not accessible for everyone

Immersive reader: used to read text out loud, edit student work, draw focus to specific words for student learning.

PROS: -change colour to learn vocabulary (nouns, verbs) – highlight words

student needs help with – changes line spacing ( helps with visual disabilities)

– helpful to teachers, students with ADD, vision impairments, autism, dyslexia

– free with Microsoft account (most schools supply)

CONS: – can be loud and require headphones,

Breathe Think Do with Sesame Street: this is a game where you work through activities with a buddy monster

PROS: -reads to you – works on problem solving – helps with behavior issues – helps students monitor breathing – helps students be independent

CONS: – not very customizable would be cool to create a schedule for the student

in the game to work on routines

STOP MOTION VIDEOS- Week 7

Over the last couple weeks I have been creating some stop motion videos with the app Zing Studio! The first video I created was with fellow classmates and was my first time ever creating a video of my own. I am super proud of the work we created with our first attempt but there sure is room for growth! Check it out:

scan this QR code to check out the stop motion video we made with the students

The second video I created was with a group of 3rd grade students at a local elementary school. For this video we encouraged the students to control the themes and ideas and helped put their ideas into video. I was so impressed with how much the kids knew about stop motion video. They taught us how to add sound effects with was a fun feature we played around with!

WHAT DID I LEARN?

  • after my first attempt I learned how to add SOUND EFFECTS into the stop motion video
  • during our second video the kids wanted to stop our progress to DELETE a photo so we needed to quickly learn how to go back in and continue a started video
  • Prior to our first video we talked about limiting ourselves to only a FEW PROPS which is something we should have reinforced within the video with our students
  • dropping the “boulder” in our in situ video was a really cool idea the kids had, it took a few attempts to figure out the best way to MOVE AN OBJECT UP AND DOWN rather than side to side but I honestly think it looks awesome

Stop motion videos are created by taking a photo and then moving the subject a tiny bit and continuing to take a photo for each little movement made! I may use this technique in a classroom to have students explore an animal in their natural environment. I would tell the student to focus on 1 animal and 2 props to teach us either how the animal gathers food or where the animal nests. Another project that I could do with my students is share a story with the kids and have them use the same theme to create a unique story using stop motion. This would have a focus on parts of a story and using technology as a learning tool.

Object motion: made using objects, toys, (like lego) both my stop motion videos fit in this type

Claymation: uses clay for characters and background

Cutout animation: uses paper cut outs for characters and background

Puppet Animation: a puppet is used for the main focus of the video

Pixilation: stop motion is created using human subjects

Silhouette: characters are shown as black shadows

The information on these types of stop motion can be found here, this source has some great video examples of each type of video so I highly recommend checking it out!

Photos Used (listed from left to right):

Found on Unsplash by Daniel K Cheung

Found on Pexels by Cup of Couple

Found on Pexels by Artem Podrez

Found on Pexels by Vlada Karpovich

Found on Unsplash by Khamkéo Vilaysing

Found on Unsplash by William Farlow

Graphic Creations with Canva- Week 6

This week we practiced using online tools to create graphics! I was introduced to CANVA and was impressed by how easy the site was to use. The first thing I created was a mind map with the ice breakers I have used so far in my free inquiry.

I created this graphic using the template Abstract Mind Map Connection Diagram. I posted my graphic to Instagram as an easy way for my followers to get a quick view of what I am creating on my blog! The purpose is to generate interest using fun colours and key terms.

TEMPLATES:

I enjoyed how canva has a ton of options for templates so you are not required to create your entire graphic from scratch. I appreciate having the option because using a template is not always the best choice, depending on your abilities with canva and what you are trying to create.

POSITIVES NEGATIVES

generates ideas if you know what you need the graphic but do not know how to create one

great starting point for a project

super easy to use

categorized based off of potential needs to help organize your search

some of the templates I wanted to use cost money

limits what you can create if you start with a template (certain designs may be better creating from a blank canvas)

categories can be used for other things (my header image started as a wedding print) so using the categories limits choices

The graphics I created were used to enhance my blog but canva can also be used as an exciting CLASSROOM TOOL. I may create graphics to embed into a slide show to improve my students understanding. I could create EFFECTIVE IMAGES that show the student what I am trying to explain. Some students may learn better by seeing but other students may learn better by reading. Providing text and a graphic together will reach more of your classes LEARNING STRATEGIES for success.

Free Structure of Infusoria organism drawn on whiteboard with markers in classroom of school Stock Photo
Notice how the picture adds to the lesson by SHOWING the students what you are explaining. This same affect could be created with a graphic and embedded into a google slides presentation about parts of a cell. Photo was found on Pexel.com and posted by Katerina Holmes

Creating graphics could also be used as a fun ASSIGNMENT to develop students technology skills. I could provide the entire class with the same template and tell them to create whatever they pleased with the template they were provided. After everyone was finished I would present the class all the graphics created from the same template to demonstrate how even though we all started with the same product our finished projects were different. This could be a fun way to teach my class how everyone is unique and could be a stepping stone into a lesson on perspectives and how everyone sees the world differently.

Some FEATURES on canva I really enjoyed are:

  • templates
  • elements (super fun to add eye catching details)
  • uploads (you can upload your own photos within the website)
  • so many font and colour choices for the text
  • they have a great share feature if you were working in a group
  • lots of features can be used for FREE (pro available at a cost for full access to more options and features)

The most important thing I learned this week was how FUN it is to get involved and create your very own graphics!!!

« Older posts